ScaleFlyt's Export tool lets you generate PDF documents containing all the details of your Mission. This guide explains how to use the Export functionality.
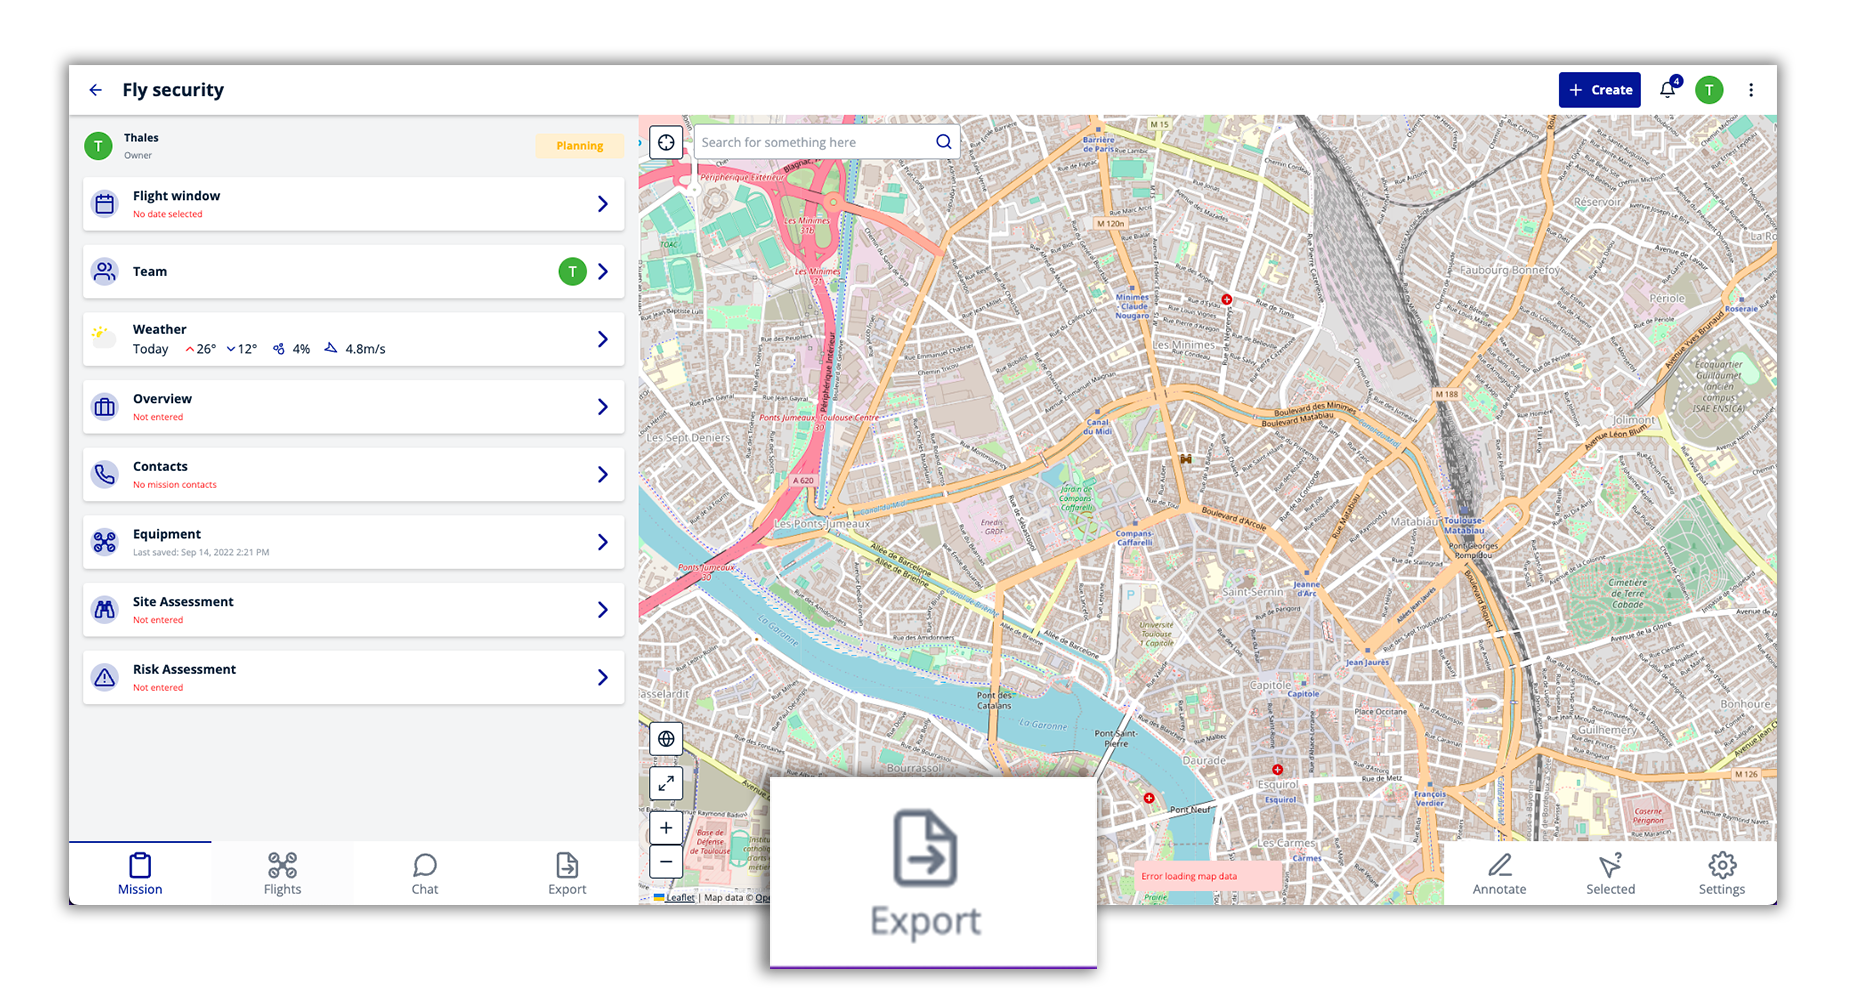
ScaleFlyt's Export tool can be found in the Mission Tools.
To open the tool simply click on its icon in the Mission menu (bottom left).

Before you create your first export, the Mission Documents list will be empty.
It is possible to create several documents for the same mission. If mission documents already exist these will be listed here.
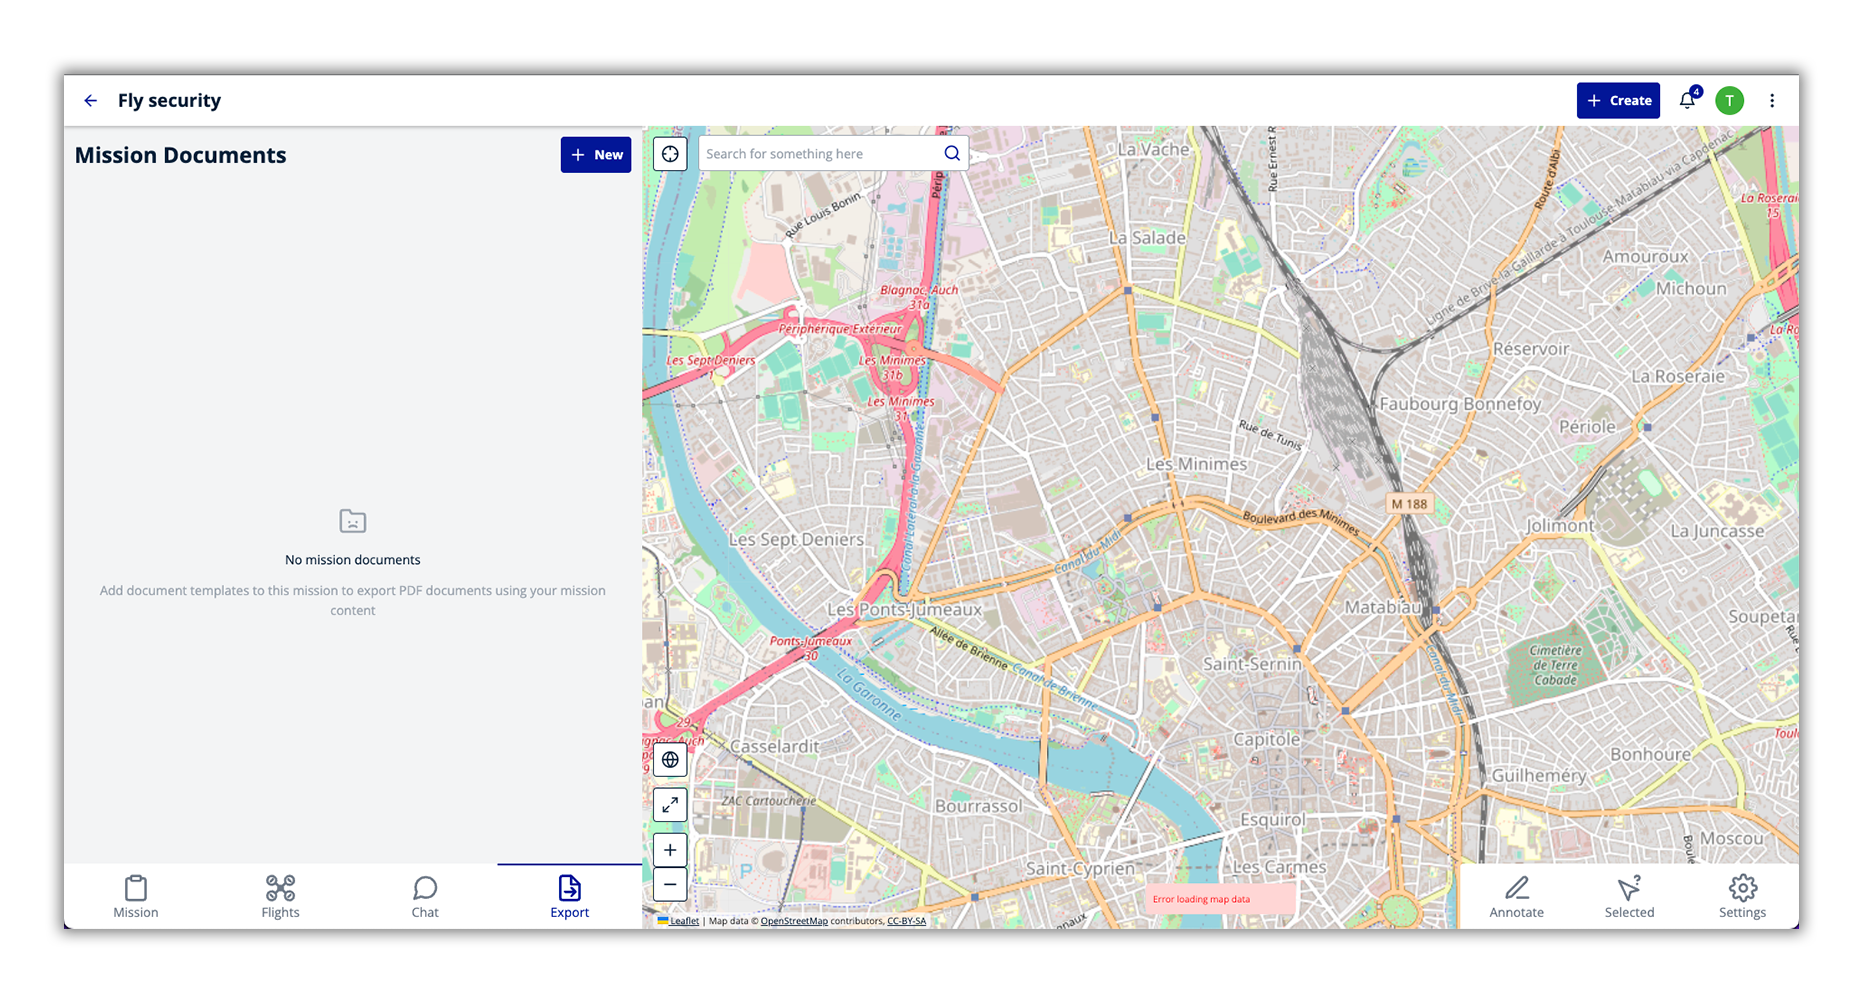
Click on New to create a new document.

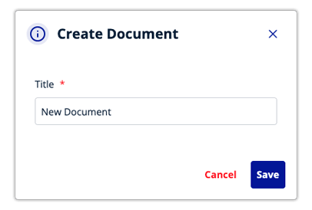
Name your document and click the Save button.
ScaleFlyt will generate a new mission document.
After a loading period, the document will be ready for use.
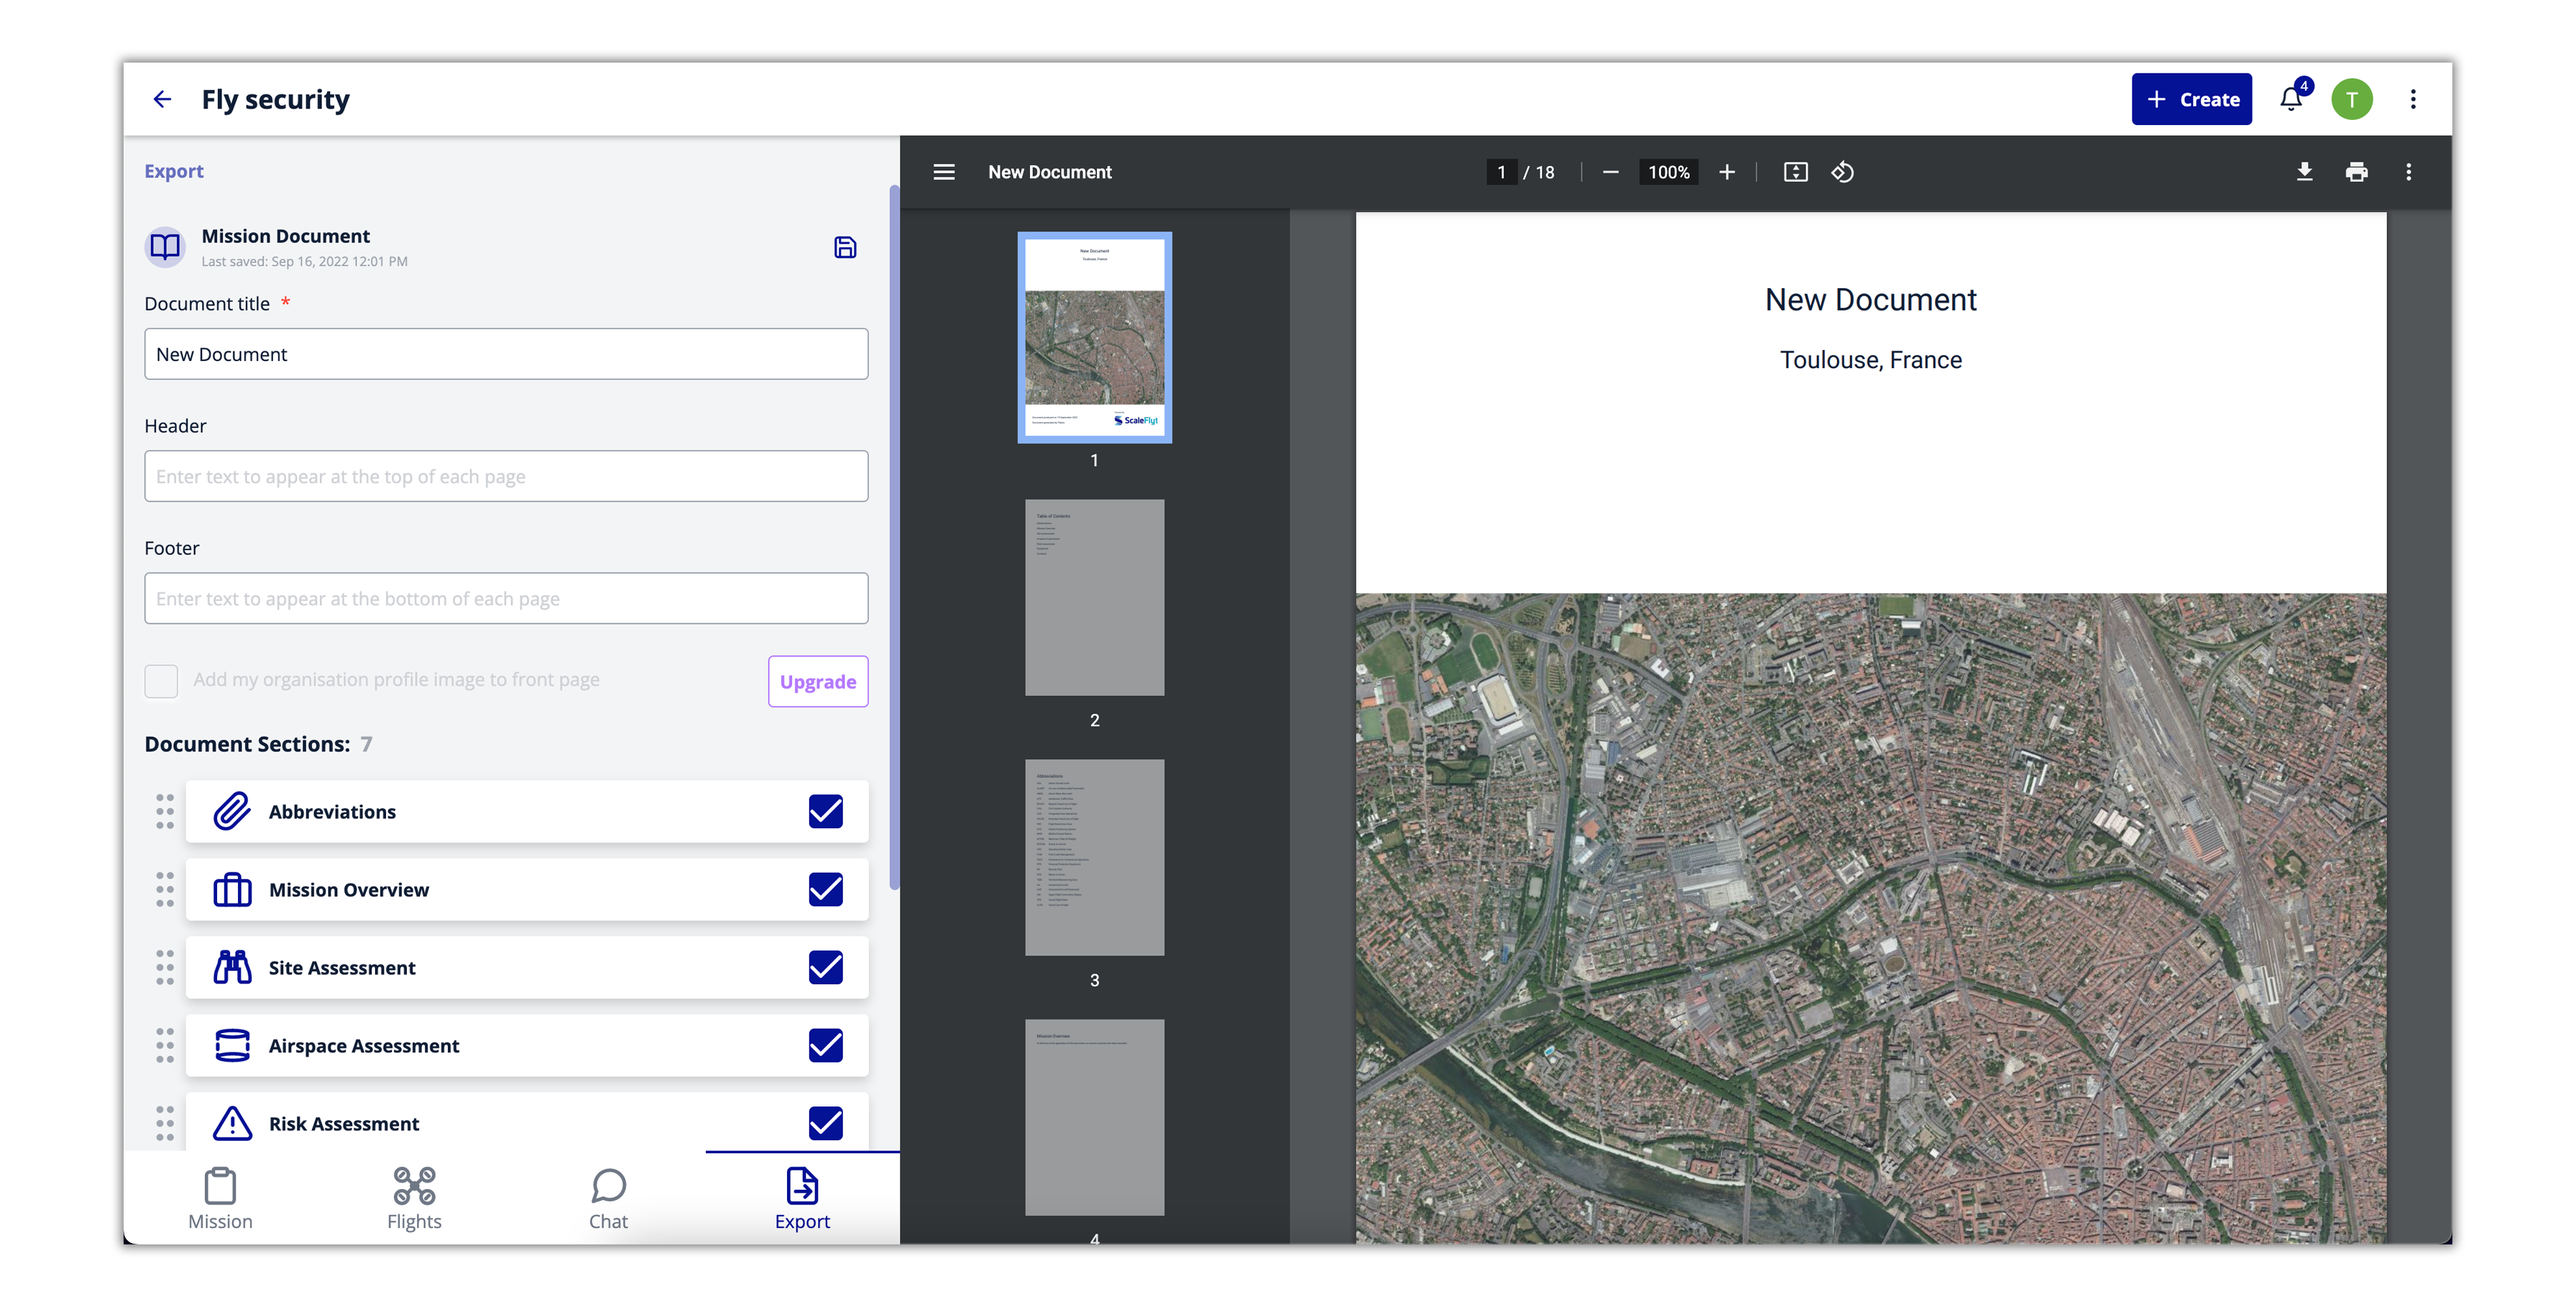
The document includes, by default, all the information available in the mission.
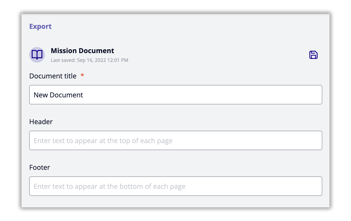
On the top left you will find the field to rename the document.
It is also possible to customize the header and footer of the document with your own text.
If you are on a premium plan, you will be able to load the organisation's profile image, when available, on the cover page.

This option is only available if subscribed to a Premium package (e.g. ESSENTIAL, ENTERPRISE, CUSTOM, etc.) You will otherwise see the following.

Document section allows you to organise the document. It is possible not to display a section by unchecking the corresponding check box.
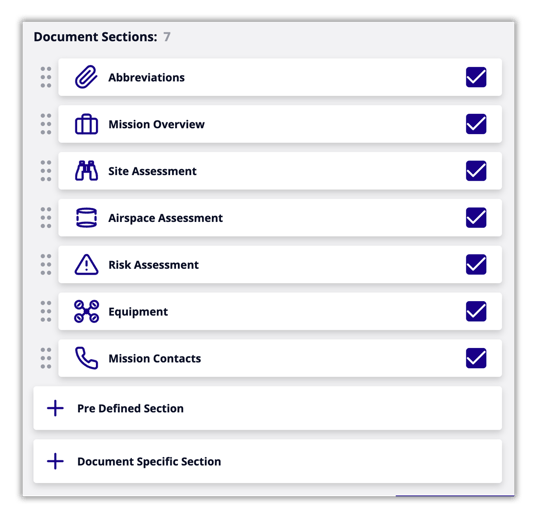
You can add a specific section with Document Specific Section.
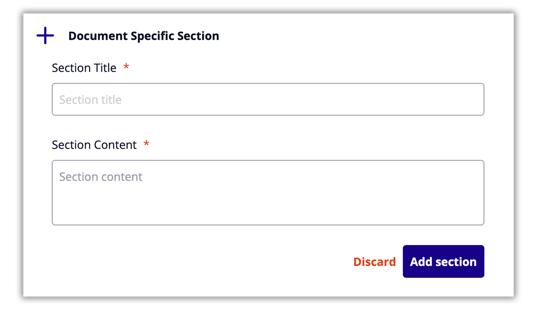
To do this click on Document Specific Section and then add a title to your section and describe its content then click on Add section to add it to your document.
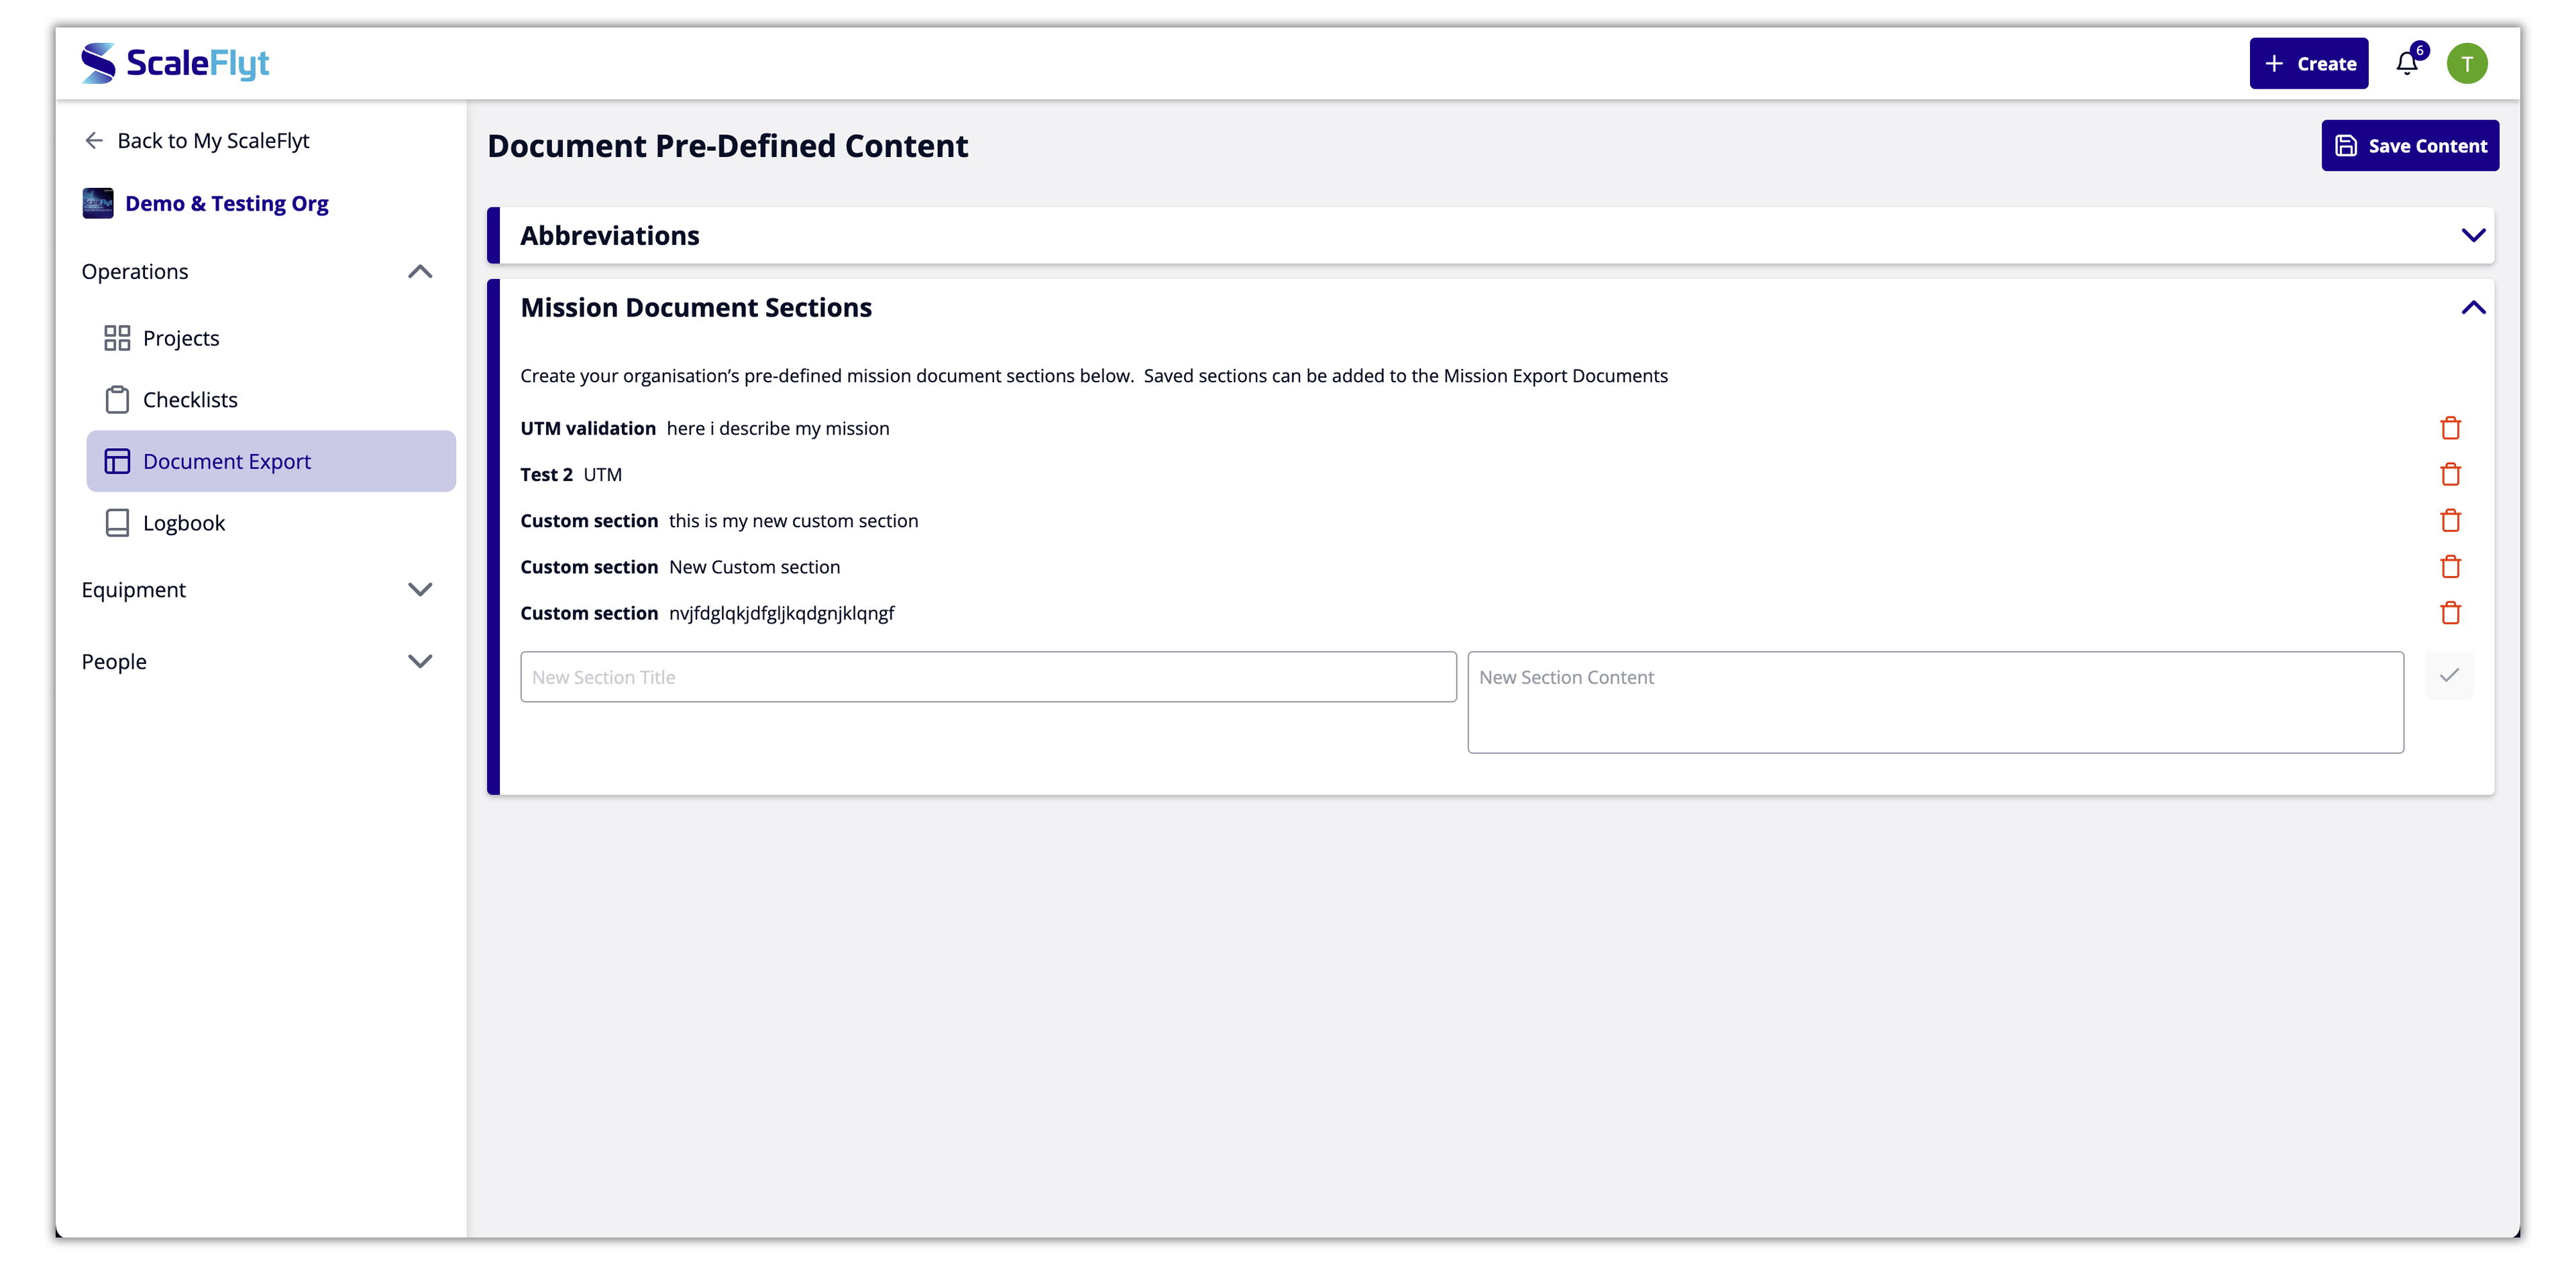
You can also choose the predefined section that has been edited as a template in your Organisation.
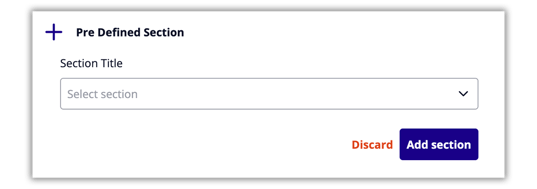
Click on add section.
Finally click on Save ![]() at the top.
at the top.

Localisation to create document template