
This article describes how to become an expert with your ScaleFlyt Remote ID
Setup Checklist
Follow the steps below to use and operate your tracker :
- Create a flight or head to an existing one.
- Ensure the tracker is completely charged before use. Charging the tracker to full capacity typically takes around 2.5 hours.
- Know what are the local rules for using Remote ID, refer to the guide on configuring the tracker prior to your flight.
- Update the flight tracker configuration to load the latest tracker configuration.
- Ensure good GNSS tracking and network connectivity. Turn on the tracker and wait for the "Ready to fly" indicator.
- Mount the tracker securely.
You are ready to fly and start monitoring your flight!
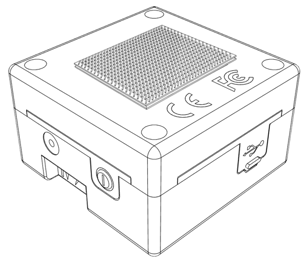
Charge your Tracker
- Turn off the tracker.
- Detach the USB flap on the side of the tracker.
- Connect the provided USB cable into the tracker to a 5V source (CAUTION: USB C – C power delivery charger is not supported).
- The LED bay will show a blue light when the battery is being charged properly.
- Once charging is completed, the LED will turn green.
Region / Country Specific Configuration of the Tracker
Singapore
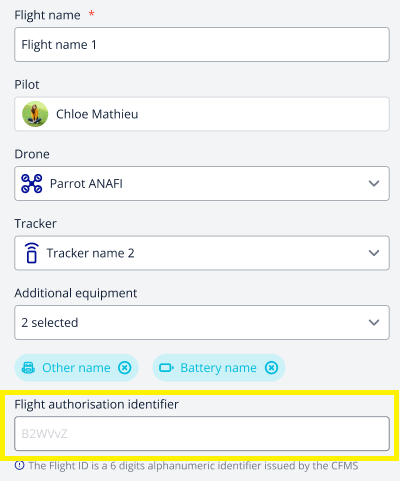
Users planning flights within Singapore need to have a Flight Authorisation Identifier before commencing their flight. This information can be obtained through the CFMS-provided FlytItSafe app. Once you have the flight authorisation ID, access the Flight Settings, enter the value in the designated "Flight Authorisation Identifier" field, and remember to save your changes.
EU
For users intending to fly within the EU region, it's necessary to have an Operator Registration Number (OPRN) before starting the flight. Users can input their OPRN within their organisation settings.

Update the Tracker Configuration
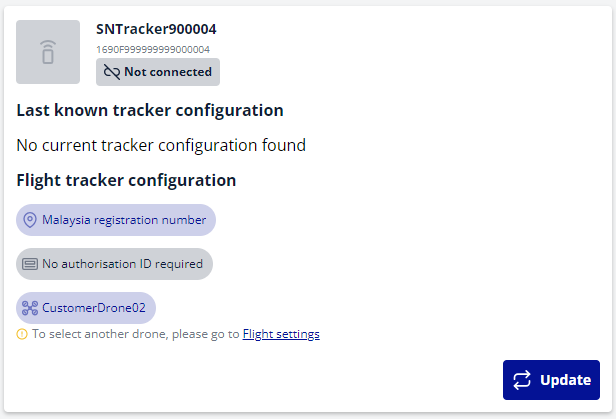
The final step before using the tracker involves updating the Tracker configuration. This can be accomplished by navigating to the "Flight > Real Time Tracking" section. Double check that all settings are correct or modify them accordingly and click the "Update" button to apply the configuration for the tracker's use.
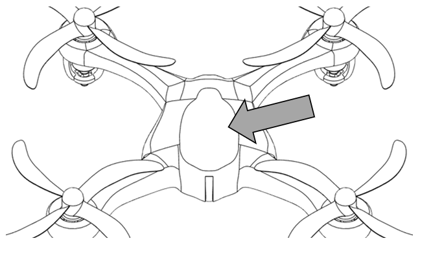
Mount the Tracker on your drone
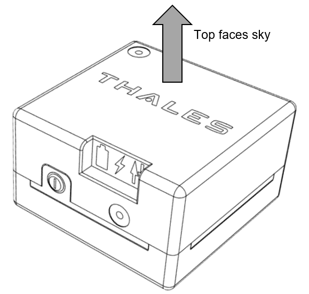
Trackers can be mounted easily & securely with the provided Dual Lock fastener tape on any surface of the drone that will not hinder the safe operation (no obstruction to drone’s antenna and blades with balanced weight distribution) of the drone. It is advisable to tape with Thales Logo in the correct orientation so that the internal antenna can be well exposed to GNSS and cellular network.
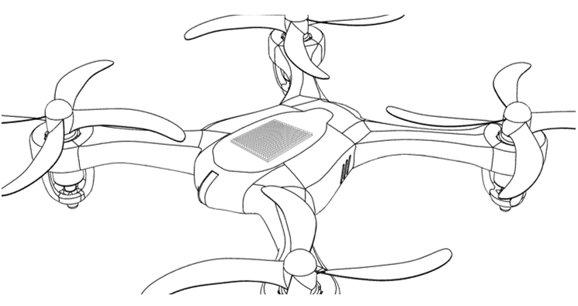
Choice of installation location:
- A flat surface will maximise stability
- A clean surface will maximise adherence of the dual lock tape
- The Thales logo on top, facing the sky, will maximise visibility of the satellites
How to mount the tracker on a drone
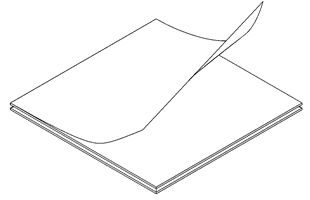
- Take any one of the two Dual-Lock strip and remove the plastic film protecting the adhesive
- Find a flat surface on the drone for mounting the tracker, ensure that the surface is clear and there are no revolving or moving parts that can obstruct the tracker
- Stick the Dual-Lock strip onto the surface. Allow the proper adhesion of around 5 minutes
- Stick the other Dual-Lock strip onto the bottom of the tracker
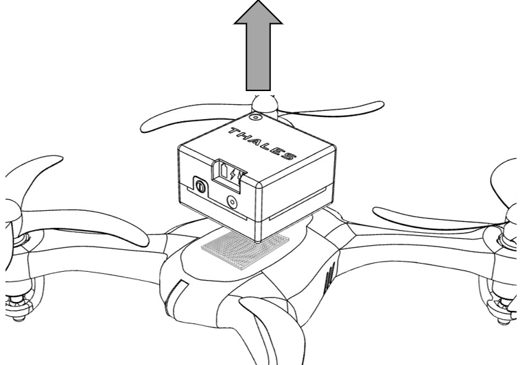
- Mount the tracker on the drone by pressing the two Dual-Lock strips together. If mated correctly, you should be able to hear an audible click sound.
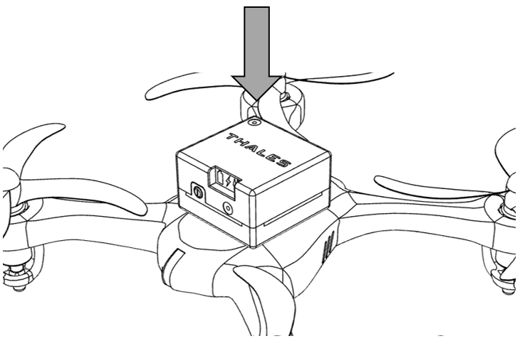
- To remove the tracker, pull the tracker up vertically
Monitor your Flight in real-time
There are couple of ways to monitor your flight in ScaleFlyt.
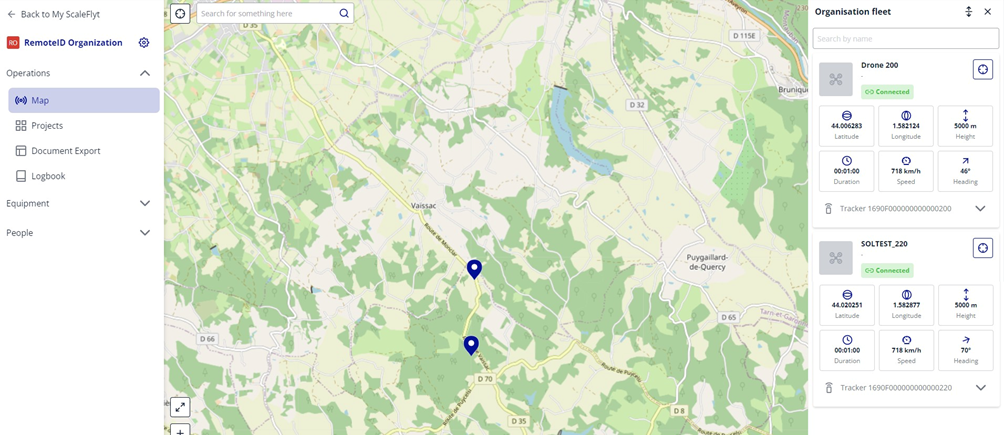
Map View
The Map view shows tracking of all the drones in your organisation at the same time. It also shows other real time tracking data such as latitude, longitude, flight duration, speed, height and heading.
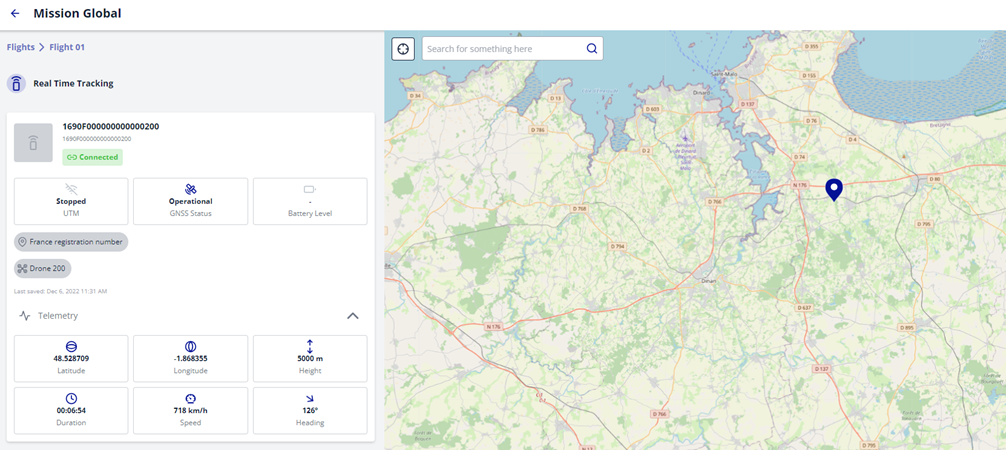
Real Time Tracking in the Flight section
In the Flight's Real Time Tracking feature, you can observe the live tracking of the drone linked to the selected flight. Additionally, real-time tracking data, including latitude, longitude, flight duration, speed, altitude, and heading, are presented.
IMPORTANT INFORMATION
There may be a delay of up to 3 minutes after disconnecting a Remote ID Tracker before it can be used again. This delay is caused by the system's latency in registering that the tracker has been switched off.